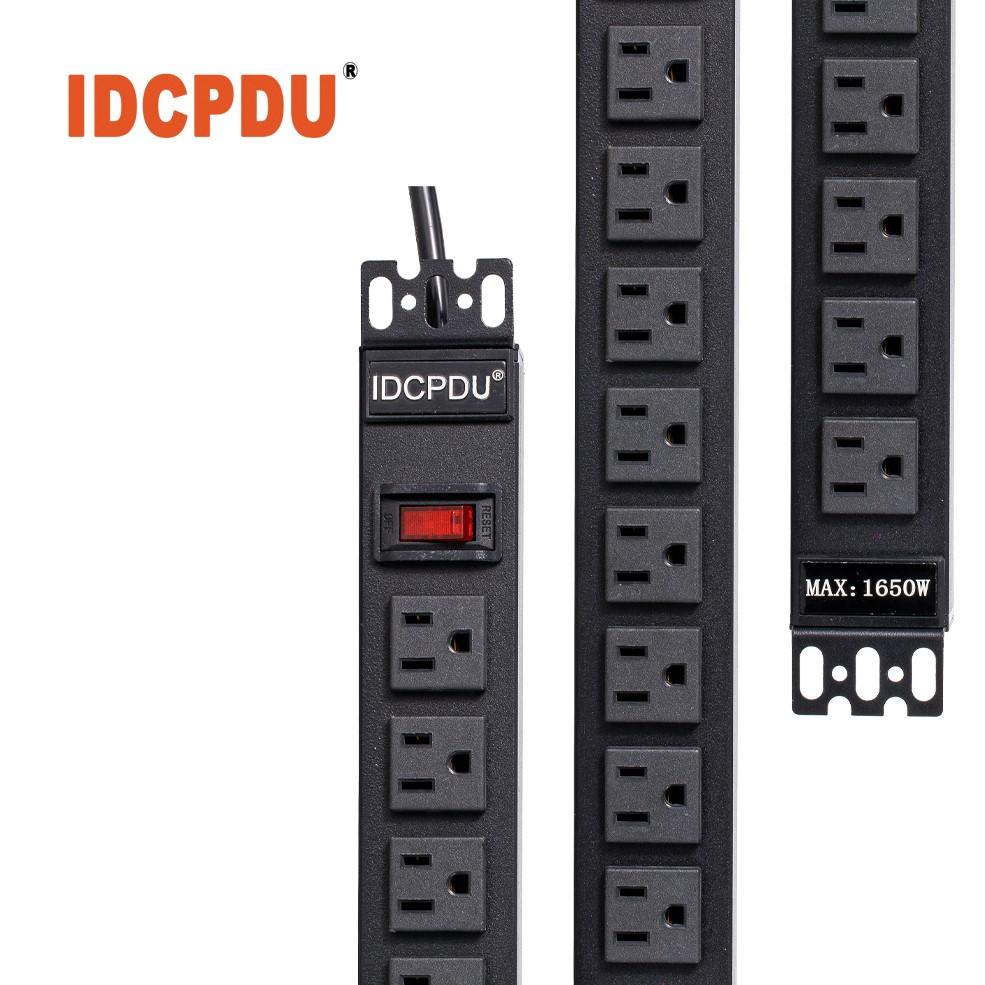
Are you worried that the PDU installation is too complicated? In fact, it is not as difficult as you think. As long as you are well prepared and follow the steps, you can easily complete the PDU installation. During the installation process, no professional skills or complex tools are required. Just patience and carefulness can put the PDU into use smoothly.
Key Points
PDU installation is not complicated. Once you have prepared the tools and equipment, you can easily complete it by following the steps.
Ensure that the installation environment is well ventilated, away from water sources, and that the load is reasonably distributed to extend the service life of the PDU.
During the installation process, be sure to turn off the power and check the cable connections to ensure safe operation of the equipment.
Preparation before installation
Tools and Equipment Required
Before installing a PDU, you need to prepare some basic tools and equipment. Here is a list of common tools:
Screwdriver : used to fix the PDU device.
Cable Ties : Help organize cables and keep them tidy.
Tape measure : Measure the dimensions of the installation location.
Insulating gloves : protect your hands from the risk of electric shock.
If you're using a rack-mount PDU, you may also need a rack-mount kit. Check the device's documentation ahead of time to make sure you have all the tools.
Safety precautions before installation
Safety is the most important aspect when installing a PDU. The following points require special attention:
1.Power-off operation : Before installation, make sure the power is turned off to avoid electric shock accidents.
2.Check the equipment status : confirm that the PDU equipment is not damaged and the cables are not exposed.
3.Wear protective gear : such as insulating gloves and goggles for added safety.
Tip : If you are not familiar with electrical operations, you can ask a professional to assist in the installation.
Determine the PDU installation environment
Choosing the right installation environment is crucial to the performance and life of the PDU. Here are a few key points:
Good ventilation : Make sure the installation location has adequate air circulation to prevent the device from overheating.
Keep away from water : Prevent the device from getting wet or short-circuiting.
Reasonable load : Avoid overloading according to the rated power of the PDU.
You can use the following table to check whether your installation environment meets the requirements:
| Environmental conditions |
Compliance |
| Good ventilation |
/ |
| No water source nearby |
/ |
| Reasonable load |
/ |
Through the above preparations, you can lay a solid foundation for the smooth installation of PDU.
Detailed explanation of PDU installation steps
Step 1: Choose the installation location
Choosing a suitable installation location is the first step in PDU installation. You need to decide the installation location based on the device's usage requirements and environmental conditions. Here are a few key points:
1.Proximity to power outlets : Make sure the PDU can be easily connected to a power source, minimizing cable length and eliminating cable clutter.
2.Easy to operate : The installation location should be convenient for you to plug and unplug the power cord of the device without affecting the normal operation of other devices.
3.Avoid obstacles : Make sure there are no obstacles around the installation location to facilitate heat dissipation and maintenance.
Tip : If you are using a rack-mount PDU, you can install it on the side or rear of the rack to save space and make it easier to manage cables.
Step 2: Fix the PDU device
When fixing the PDU device, you need to choose the appropriate installation method according to the device type. The following are two common fixing methods:
Rack-mounted PDU : Use the rack-mount kit to secure the PDU to the designated location on the rack. Tighten the screws to ensure that the device is stable.
Wall-mounted PDU : Use screws or hooks to fix the PDU to a wall or other flat surface. Make sure the mounting surface is flat to prevent the device from tilting or falling.
When installing, please shake the device gently by hand to check whether it is firm. If it is found to be loose, adjust the position of the screws or hooks in time.
Step 3: Connect the cables
Connecting cables is an important part of PDU installation. You need to follow the steps below:
1.Check the cables : Make sure that the cables are not damaged or exposed to avoid safety hazards.
2.Connect the power cord : Plug the PDU's power cord into the power outlet, making sure the plug is fully inserted.
3.Connect device cables : Plug the cables of devices that need power into the PDU sockets. Distribute the sockets according to the power of the devices to avoid overloading.
4.Organize cables : Use cable ties to bundle excess cables to keep them tidy and reduce the risk of tripping or pulling.
Note : When connecting cables, make sure your hands are dry to avoid the risk of electric shock.
Step 4: Check the installation results
After the installation is complete, the last step is to check the installation results to ensure that the PDU can work properly. Here are some aspects to check:
Is the device secure ? Gently shake the PDU to ensure it is securely fixed.
Cable connections are correct : Check that each cable is firmly plugged in and connected to the correct jack.
Is the device powered normally : Turn on the power switch and observe whether the device is operating normally. If any problems are found, immediately cut off the power and find out the cause.
After completing the inspection, you can start using the PDU to power the device. Through the above steps, you have successfully completed the installation of the PDU.
Problems you may encounter during installation
Solution to the problem that PDU cannot be fixed
When you find that the PDU cannot be fixed, it may be caused by improper installation method or tool selection. Here are the solutions:
1.Check the mounting surface : Make sure the mounting surface is flat and solid. If the surface is uneven, use shims to adjust it.
2.Change the fixing tool : If the screw or hook does not fix firmly, you can try using a longer screw or a stronger hook.
3.Adjust the installation position : If the current position cannot meet the fixing requirements, you can choose another more suitable installation position.
Tip : Gently shake the PDU during installation to ensure that the device is stable. If it still cannot be fixed, you can consult the equipment supplier for professional advice.
Troubleshooting Steps for Cable Connection Errors
A faulty cable connection may cause the device to not be powered properly. You can follow the steps below to troubleshoot the issue:
1.Check the plug and socket : Make sure the plug is fully inserted into the socket to avoid looseness or poor contact.
2.Confirm cable identification : Check the identification on the cables to make sure each cable is connected to the correct device.
3.Test the power : Use a power tester to check if the outlet is providing power. If the outlet is not providing power, try replacing the outlet or checking the power switch.
4.Check devices one by one : Disconnect all device cables, and then connect them one by one to see if any device causes the problem.
Note : During the troubleshooting process, please make sure the power is turned off to avoid the risk of electric shock.
How to avoid electrical load overload
Overloading the electrical load can affect the performance of the PDU and may even damage the equipment. Here are some ways to avoid overloading:
Calculate device power : Before connecting devices, calculate the total power of all devices to ensure that it does not exceed the rated power of the PDU.
Properly allocate sockets : Assign high-power devices to different sockets to avoid overloading a single socket.
Use a load monitoring tool : Some PDUs are equipped with a load monitoring function that allows you to view the load in real time. If your PDU does not have this function, you can use an external monitoring device.
| method |
describe |
| Calculating device power |
Make sure the total power does not exceed the rated power |
| Reasonable distribution of jacks |
Avoid overloading a single jack |
| Using load monitoring tools |
Check the load status in real time and adjust the equipment connection in time |
Recommendation : Check the equipment load regularly to ensure long-term stable operation of the PDU.
PDU installation is not complicated. Just follow the steps and you can easily complete it. Adequate preparation is the key, and careful operation can avoid problems. Try to install it yourself, which can not only save costs, but also improve your hands-on ability. After the installation is completed, you will feel a full sense of accomplishment and enjoy the fun of DIY!
FAQ
1. How long does it take to install a PDU?
Typically, PDU installation only takes 30 minutes to 1 hour, depending on your proficiency and the complexity of the installation environment.
2. What should I do if the PDU fails to provide power after installation?
hint :
Check that the power is on.
Verify that the cables are connected correctly.
Use a power tester to troubleshoot outlet problems.
3. Does the PDU require regular maintenance after installation?
Yes. Regularly check the cable connections and equipment loads, and clean the dust to ensure long-term and stable operation of the PDU.
 English
 中文简体
中文简体
 русский
 Español
 Français


